

Switchbacks tend to be corners with a lot of personality. Often an unpleasant personality and trust me, they don’t care what you think of them! They are best approached with a healthy dose of caution, but if treated with respect you’ll often find the switchback is willing to make friends.
First let’s look at climbing a switchback.
CLIMBING SWITCHBACKS
1. Spin Your Approach
Switchbacks can take some energy to negotiate so try to conserve some energy as you approach spinning an easy gear.
2. Get Outside or Pre-Turn
Line selection on approach is crucial, in most cases the far outside line is the best choice for climbing switchbacks so make sure you are approaching from the outside edge of the trail. Unless there are significant obstacles that force you to change line keep it wide all the way through.
Alternatively, check out the Pre-Turn for a more advanced line option.
3. Have Vision
Don’t focus your attention entirely on any one part of the switchback, scan through the corner, fine tune your line choice and then go! Looking up and through the corner will help you maintain balance and stay on your line. Do not focus on the obstacles you want to avoid, it will not help!
4. Power Up
A couple of hard pedal strokes as you enter the corner will give you some much needed momentum through the steepest part of the switchback.
5. Smooth It Out
Firm up your core muscles and keep both pedals weighted to provide smooth consistent power. Even if out of the saddle focus on keeping your upper body firm and stable while driving into your pedals. Lower your chest towards the bars and if in a crouched climb push your hips back slightly to spread your weight. Keep weight on both pedals as you climb rather than pushing down on one and pulling up on the other, this will help to stabilize your weight on the bike and keep power consistent through your pedal stroke giving mega traction. Drop your chest towards your handlebars as the front wheel climbs over rocks and rises on the trail.
6. Get Low
If you feel yourself falling into inside of the corner as you come around, rapidly drop your chest towards the bars to lower your center of gravity and regain balance, keep looking ahead and not down.
7. Ride It Out
Congratulations, you made it! What goes up also gets to come down so now lets look at switchback descents

DESCENDING SWITCHBACKS
1. Brake For Speed
Faster is not always faster. Entering a switchback with controlled speed greatly increases your chances of making it cleanly through the corner allowing for better exit speed.
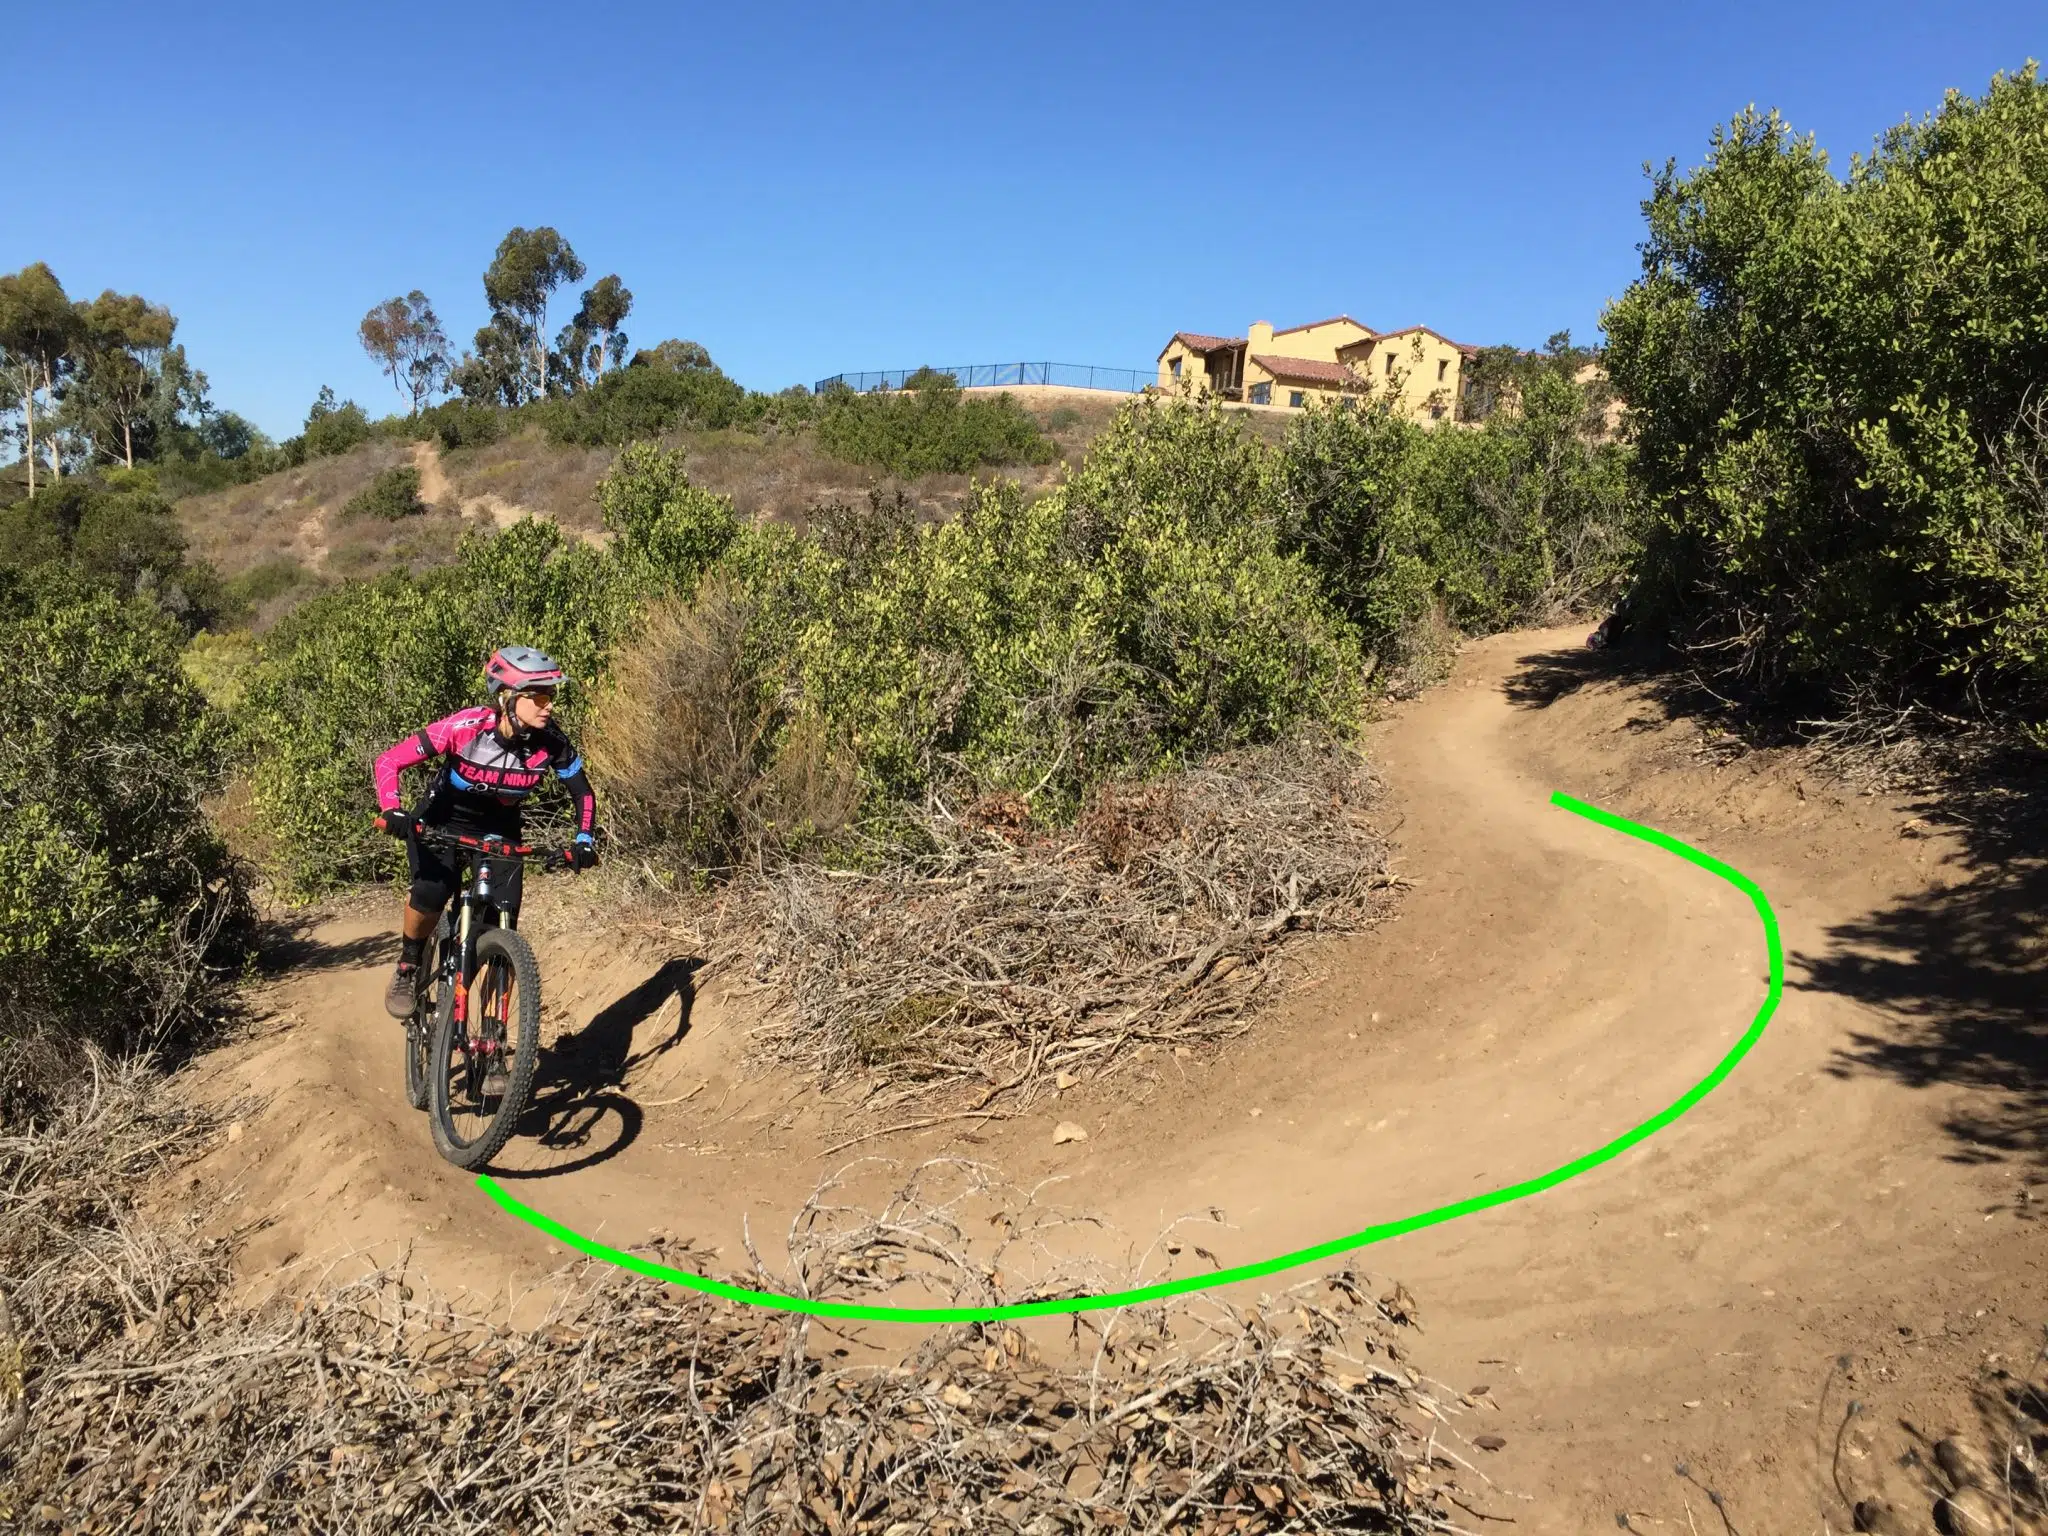
2. Get Outside or Pre-Turn
Give yourself as much room as possible by approaching the corner from as far outside as you can. You don’t have to follow the main line that most people are riding, often there is a better line further to the outside that only the smartest riders are taking, try it.
Alternatively, check out the Pre-Turn for a more advanced line option.
3. Go Early
The inside or apex of the switchback is often the roughest part so make your turn early, its best to get as much of your turn as possible done at the entrance of the corner allowing you to take a straighter line through the rough stuff.
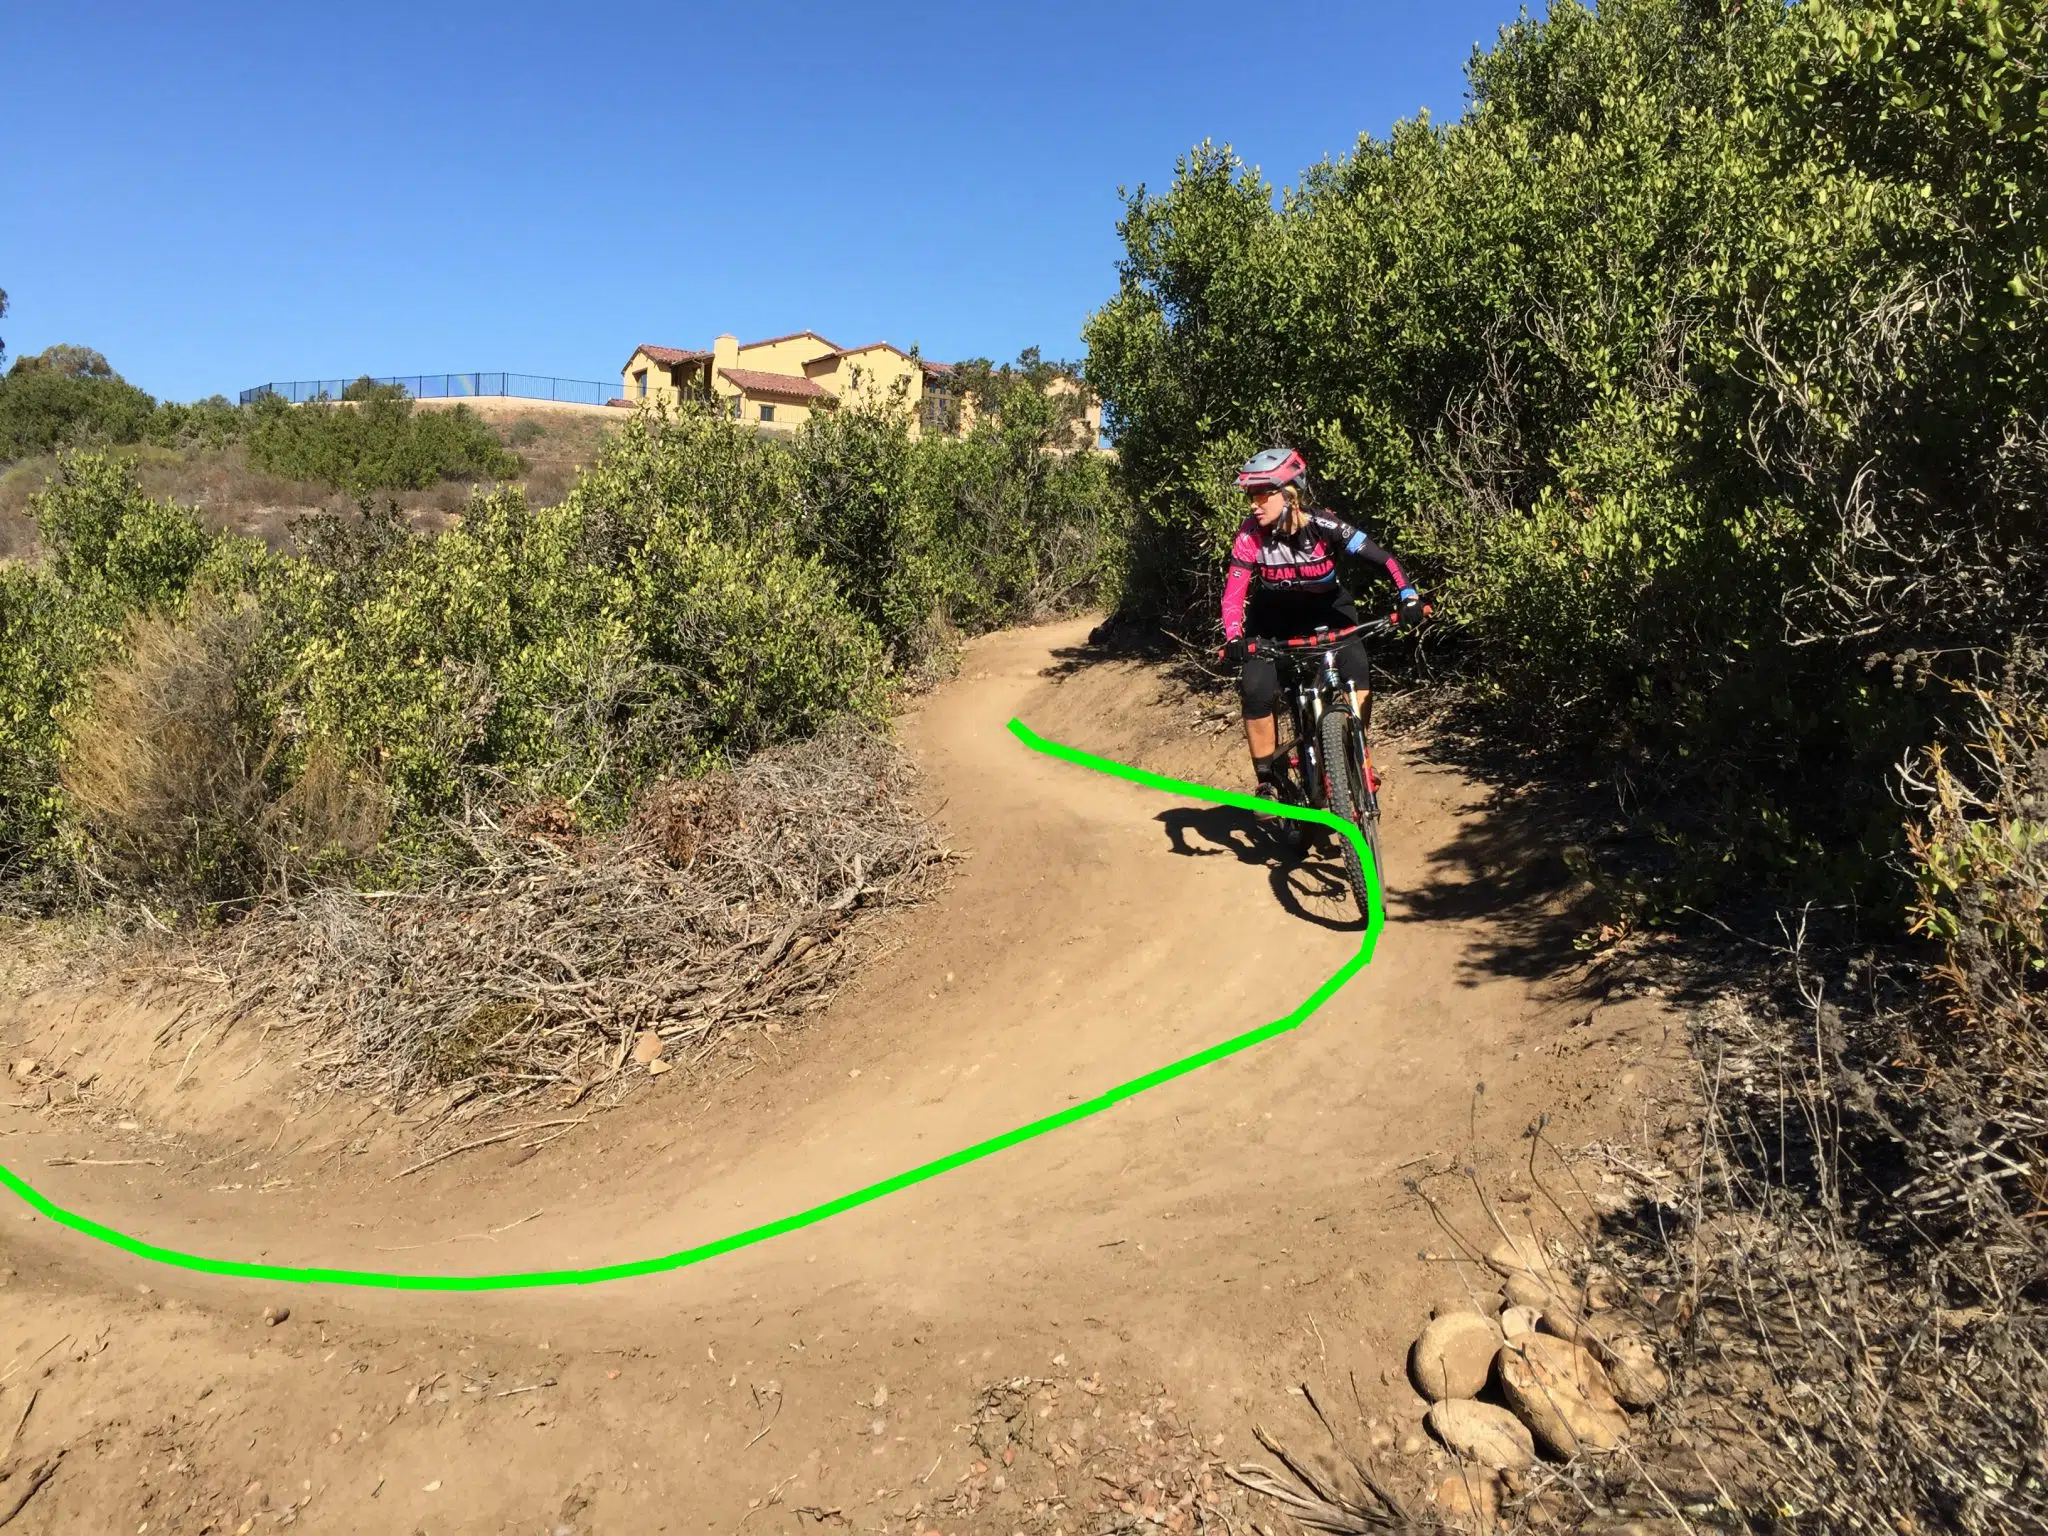
4. Get Low
If you have a dropper post, drop it! Get your center of gravity low by bending your knees and elbows and lowering your body towards the bike. For tight and steep switchbacks push your hips back behind the saddle and swing them out slightly towards the outside of the corner.
5. Look Sharp
Make sure you are looking into and through the turn, use your rear brake to control speed through the corner. Be very careful about using your front brake here, too much front brake with your handlebars turned is a sure way to disaster. As soon as you come around the apex look ahead down the trail and get off the brakes, if you are struggling for balance here releasing the brakes will allow the bike to gain momentum and balance. Do not focus on the edge of the trail as you come out of the corner, look ahead to where you want to be.

Remember, these are general recommendations on how to ride switchbacks as they are all different. Some require different tools and techniques to conquer. If at first you don’t succeed go back and spend some time walking the corner, see if you can find a better line, a better place to get off the brakes or lift your front wheel. The most difficult switchbacks can be a bit of a puzzle, but a puzzle always has a solution. Once you find it you and your switchback have just made friends.
Special thanks to Patty Elliott for demonstrating proper switch-back techniques for this article. Patty started mountain biking at age 55. Her goal was to improve her fitness while having fun. In two years she has gone from a self proclaimed “scaredy-cat” to a confident rider. She enjoys the social aspect of group riding and her passion for the sport is infectious. She joined Team Ninja and is dedicated to participating in community events like “Take a Kid Mountain Biking Day.”


